
Home Video Overlay Motion Control Turbine Turning Tools Corporate How to find us Support Search Register
|
Home Video Overlay Motion Control Turbine Turning Tools Corporate How to find us Support Search Register
|
|
Click image to enlarge |
The IQ150 is a stand alone non-contact measuring system.
|
The Standard suite of functions include.
 |
Radius &
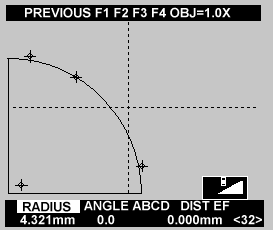
Diameter The RADIUS option allows the user to measure the radius of arcs, circles or fillets by specifying three or more points on its circumference. After the three points have been defined, a circle is drawn through these points and the circle's centre displayed. Up to 5 other points may be entered and the "best fit" circle drawn. The measurement is scaled with the zoom lens The user may select to represent the measurement of circles as radius, diameters or area. |
 |
Angle
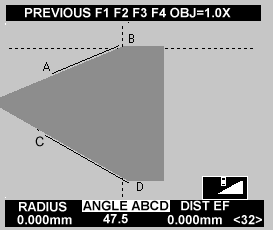
Using the ANGLE option the user may determine the angle subtended between two lines. Each line is defined by two end points, each of which are positioned independently. The use of two line segments allows angles to be measured where the apex is off the screen. |
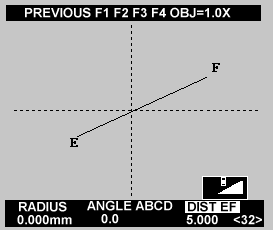 |
Distance The DIST option calculates the distance between two points, each of which is positioned independently. If the user prefers Cartesian co-ordinates, distances may be measured using the REMOTE mode. As with all the measurement functions, the results may be reported over the RS232 link by programming an F-key as the PRINT function. |
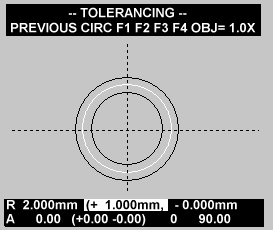 |
Tolerancing The TOLERANCING option allows the user to construct a circle or rectangle of a known size to compare against the object on view. This is particularly useful for go, no-go testing. Each template has an associated plus and minus limit determined by the user. The circle template allows tangents to be drawn with a specified angle and rotation for checking fillets and radiused corners. The template may be positioned using the Trackerball and automatically resizes with the zoom or selected objective. |
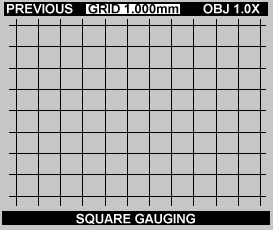 |
Gauging The GAUGING screen allows an accurately defined square grid , micrometer or concentric circle pattern to be displayed. The displayed grid will vary in size with the zoom lens. The grid has several applications, including checking for parallelism errors, counting biological samples and checking of irregular grid based machinings. The circle pattern has applications such as grain sizing and the micrometer has been used to read off interference fringes. |
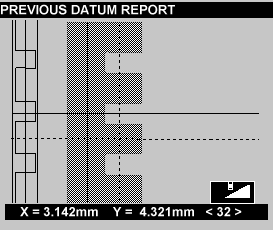 |
Remote The REMOTE mode is intended for semi-automatic measurements, logging results to a host computer and downloading template drawings. The mode also has a line digitising function for automatic-edge detection. A feature in the Y dimension may be automatically measured by pressing SCAN. The example shown reports the co-ordinates of each edge to a host computer. The remote computer can also download text and shapes onto the screen. |
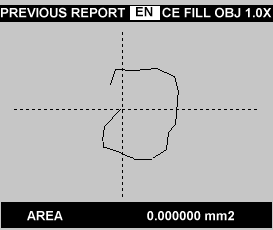 |
Area The Area mode provides a flexible way of measuring the area of an irregularly shaped object. The user describes the perimeter with the Trackerball and presses FILL. If the cursor was left inside the perimeter, the area of the object would be measured. If left outside, then, the area excluding the object would be measured. with the cursor inside the object to be measured. The size of the area may be sent over the RS232 by selecting the REPORT field and Pressing EN. |
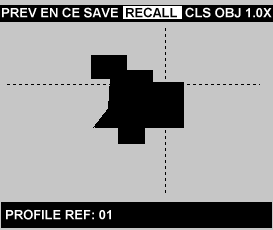 |
Comparator The Comparator option allows the creation and storage of up to 30 user-drawn profiles. These profiles may then be recalled for later use. This is particularly useful when inspecting small components; e.g. screws, nuts, and general pressings, etc. |
Special Software:
Special software is also available for Weld Checking, Razor Blade Geometry, Concentricity, High Voltage Cable checker and TV screen blemishes .
We can also develop software for your specific requirements.
A unique feature of the IQ150 is the ability to be calibrated to a zoom lens.
This is accomplished by the careful fitting of a zoom lens encoder to your zoom lens by our skilled engineers.
With this encoder accurate measurements are assured at all zoom settings.
The standard IQ150 may also be calibrated against eight objective lenses.
Specifications
| Power requirement | 86V to 260V AC via 3 pin IEC plug. |
| Video In & Out | PAL,& Y/C, as standard optional RGB or SCART connectors. |
| Zoom encoder | TTL level quadrature signals via 5 pin DIN 180 degree socket. |
| Monitor supply output | Switched IEC socket at Mains power. |
| RS232 serial port | 25 way D type socket bi-directional control. |
| Camera output | 12V 1A camera power source via 5 pin DIN 240 degree socket. |
Copyright © 2002 Cortex Controllers Ltd. Cambridge, UK. All Rights Reserved.